

Strap assembly instructions
Step-by-step guide to choosing, stretching and fitting the straps on your Upbikers.
-
Step 01
Learn how to fit them on video
We recommend watching our video instructions or carrying on with the step-by-step guide below.
Video in Spanish (subtitles in other languages). You can also follow the manual on this page.

Step 02
Size guide
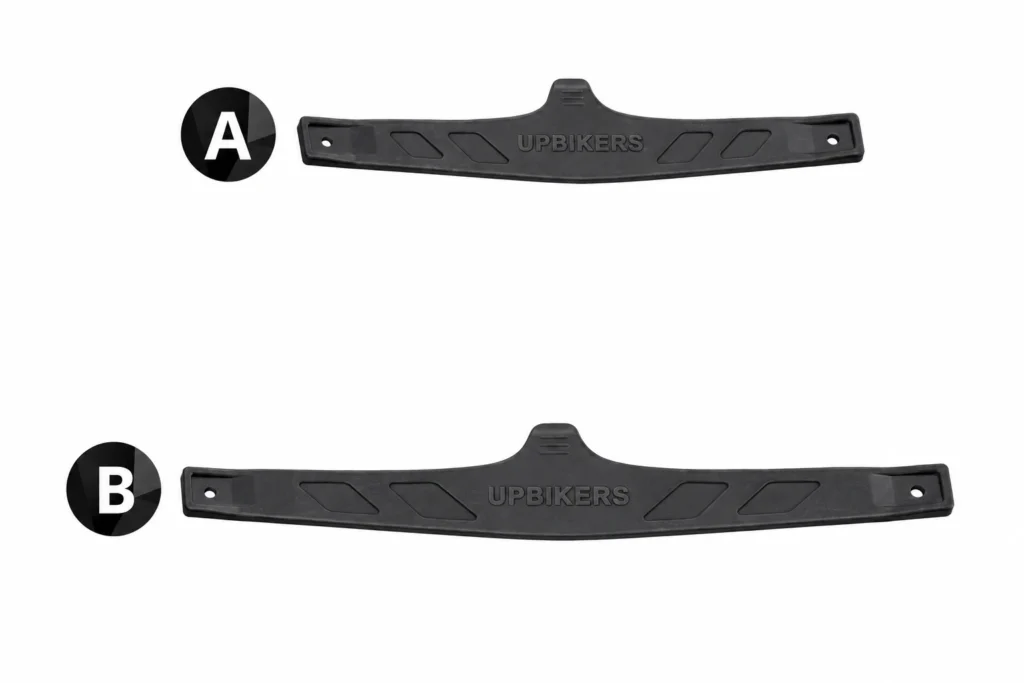
Choose strap A or B according to the size of your usual footwear:
- Europe
- A: 35 to 40
- B: 41 to 46
- USA and Canada
- A: 5 to 9 (women’s)
- B: 8 to 12 (men’s)
- UK / Australia
- A: 3 to 7
- B: 8 to 12
- Mexico
- A: 22 to 26 cm
- B: 27 to 31 cm
- Japan
- A: 21 to 25
- B: 26 to 30
-
Step 03
Top tip: stretch the straps
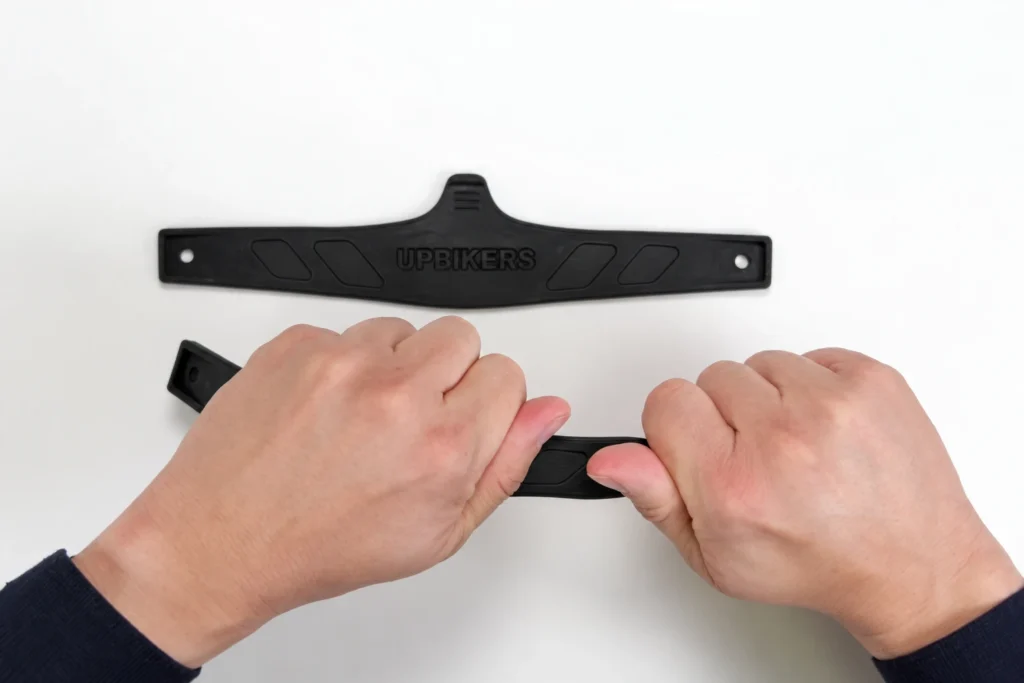
We recommend stretching the straps before fitting them so they lose some of their stiffness. This makes them more elastic, so you can use your Upbikers comfortably and correctly while you enjoy them.
-
Step 04
The fastening buttons
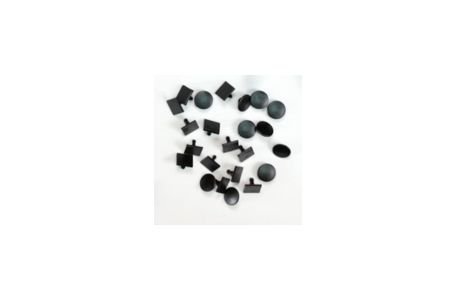
Each button consists of two parts that fasten together with an internal clip. Important: these pieces can only be fitted once; if you make a mistake during assembly, you’ll have to break them with a tool. Your parcel includes 4 extra buttons in case you make a mistake when fitting them or one is faulty. Remember to check your choice of strap “A” or “B” in the size guide before pressing.
-
Step 05
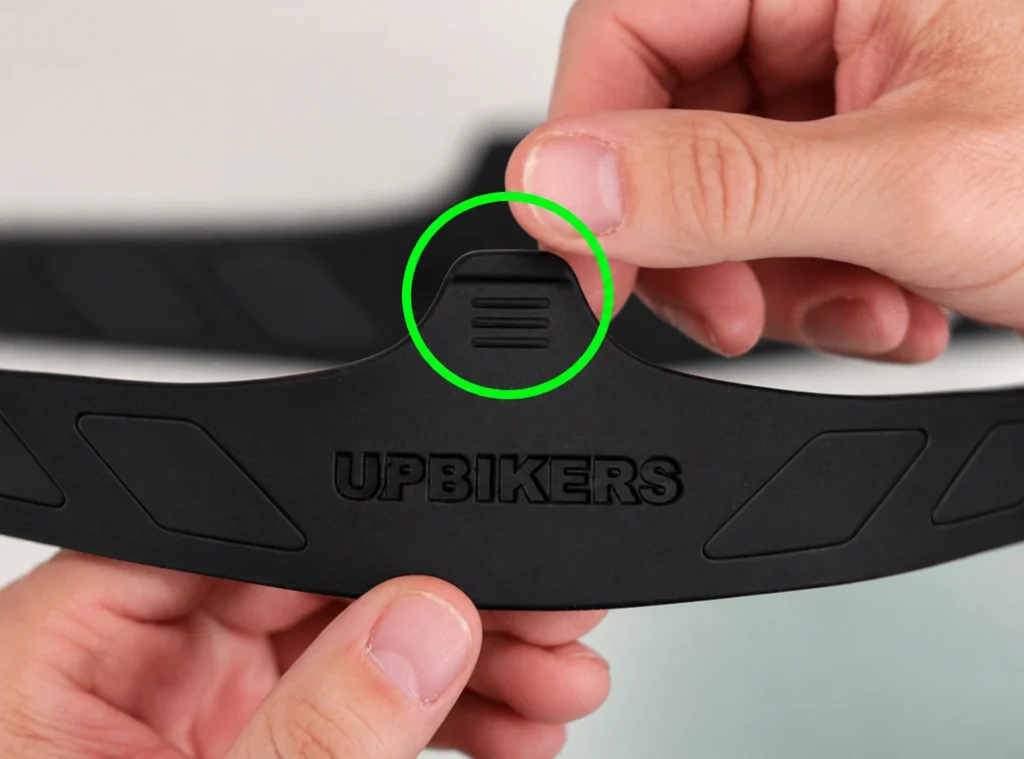
Tip: the tab always goes up
The straps have a tab that must point upwards, never towards the ground. This tab helps you put your Upbikers on and is designed to fit the shape of the boot heel perfectly.
-
Step 06
Fitting (strap “A” or “B”)
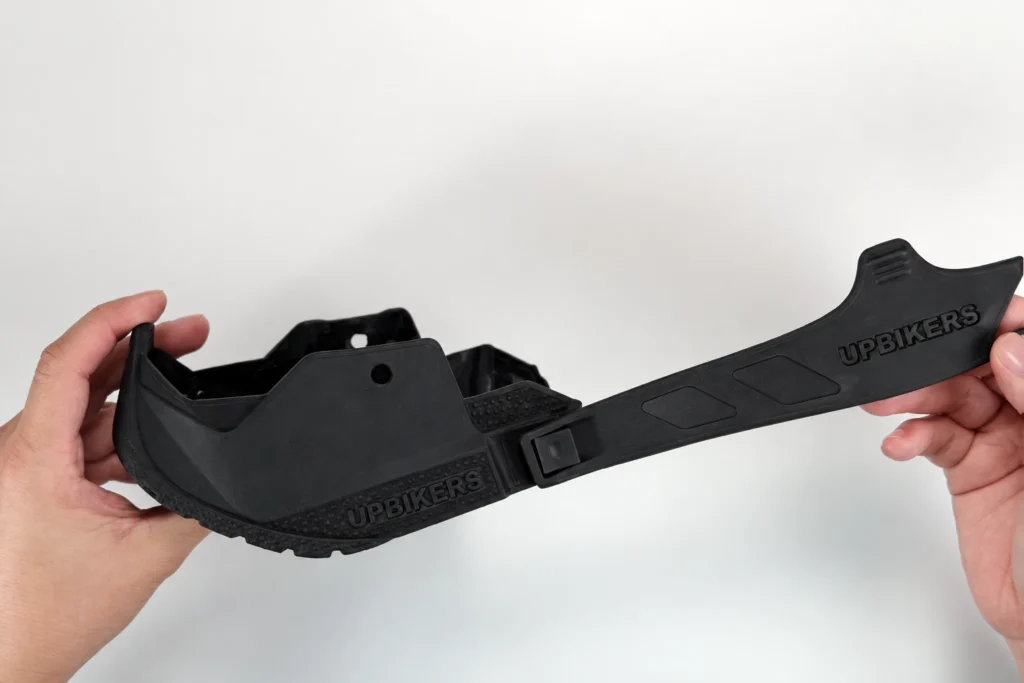
Once you’ve chosen the strap that fits your boot size, attach just one end with a fastening button. Then check with your boot that you’ve made the right choice before securing the second end.
-
Step 07
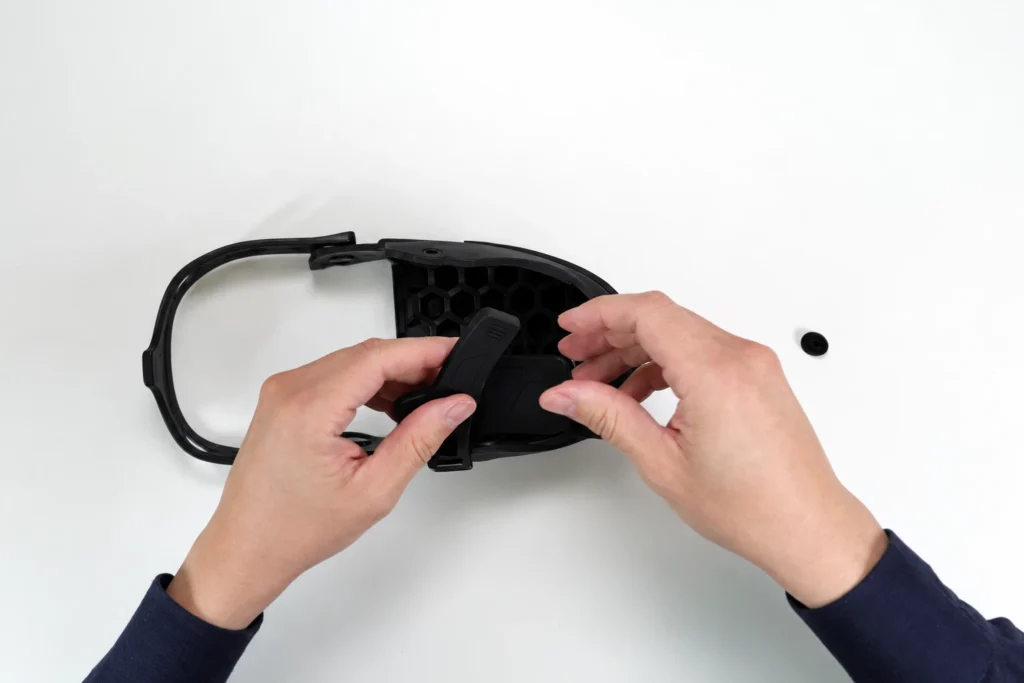
Fitting strap “C”
Now all that’s left is to fit strap “C” on the top of your Upbikers. Again, remember that the tab must point upwards, towards your leg, and not towards the toe.
-
Step 08
Now you can put them on and enjoy your bike safely
- To put them on: place the front of your foot inside the UPBIKER and pull the strap up to secure it around your heel.
- To take them off: gently pull the strap and slide your foot out comfortably.
Your Upbikers are now ready, so you can enjoy your motorcycle and ride safely!
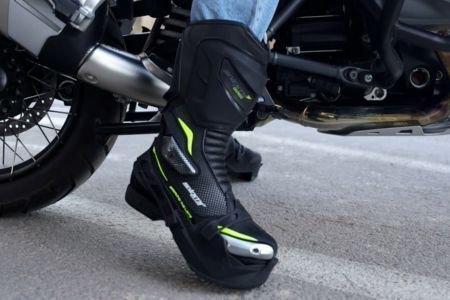






Feel safer at every stop
Reach the ground with both feet without modifying your bike
Add 4 cm of height instantly and handle any model with complete control.
Buy